How to Care for an Orchid Indoors
A practical orchid care routine for watering by root condition, choosing bright indirect light, protecting the crown, feeding lightly, repotting at the right time, and encouraging a healthy rebloom.
The short answer
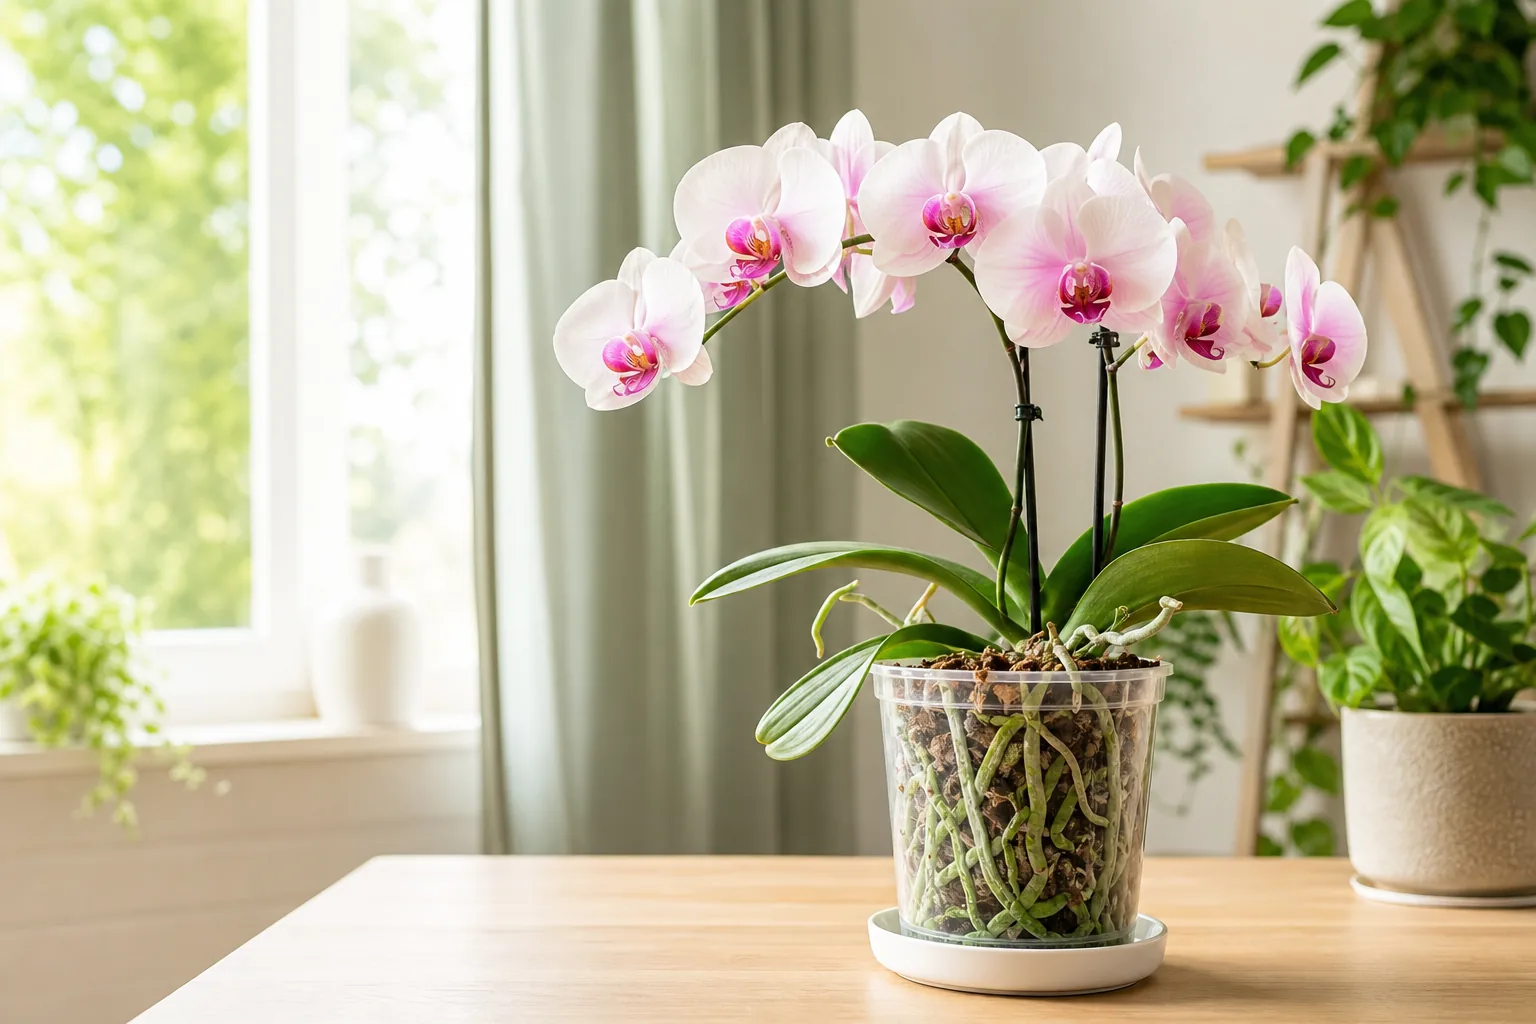
Most common indoor orchids, especially Phalaenopsis, do best in bright indirect light with air moving around their roots. Water only when the bark is nearly dry and exposed roots look silvery rather than green, then soak thoroughly and let every drop drain. Keep water out of the crown, avoid ordinary potting soil, and repot into fresh orchid bark when the mix breaks down. Stable care matters more than a rigid calendar.
Orchid Care Checklist
Use the plant, roots, pot, and growing medium as your guide instead of following a one-size-fits-all schedule.
Light
What to look for
Firm medium-green leaves and steady growth. Very dark leaves often mean too little light; bleached patches or hot yellow areas can mean direct sunburn.
Best first action
Place the orchid near an east window or behind a sheer curtain at a brighter window. Move it gradually and keep leaves from touching hot glass.
Water
What to look for
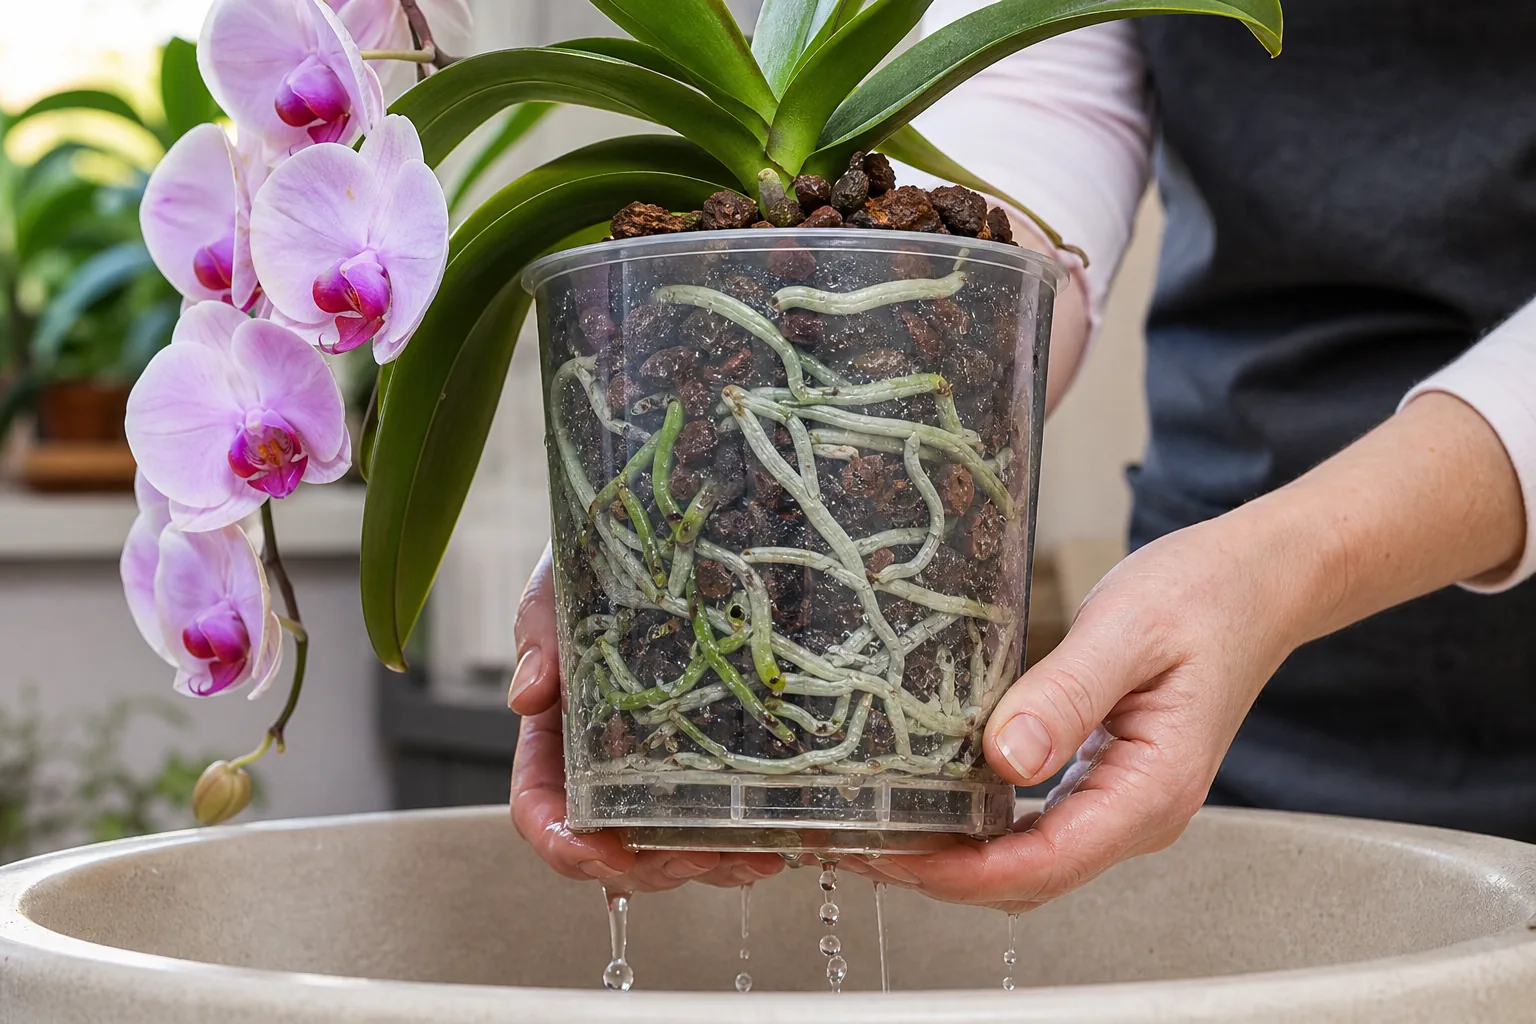
Green roots are hydrated; silvery roots and a light pot suggest it is time to water. Constantly wet bark, a sour smell, or soft brown roots point to excess moisture.
Best first action
Soak the bark evenly, then drain the pot completely. Empty decorative cachepots and never leave the root ball standing in water.
Roots and pot
What to look for
Healthy roots feel firm and may be green, silver, or cream. Mushy, hollow, black, or papery roots are damaged. A clear slotted pot helps inspection and airflow.
Best first action
Trim only dead roots with clean tools during repotting. Keep living aerial roots unless truly damaged, and use an orchid pot with drainage and ventilation.
Temperature and humidity
What to look for
Most indoor orchids prefer comfortable room temperatures, gentle air movement, and moderate humidity. Cold drafts, heater blasts, and sealed stagnant corners cause stress.
Best first action
Aim for roughly 18–27°C during active growth, slightly cooler nights, and moderate humidity. Use a room humidifier or grouped plants rather than letting the pot sit in water.
Fertilizer
What to look for
Slow growth can be normal, but weak pale new leaves may reflect poor light, damaged roots, or insufficient nutrition. Heavy crust on bark or roots suggests salt buildup.
Best first action
Feed at one-quarter to one-half label strength with a balanced orchid fertilizer during active growth. Flush the pot with plain water regularly.
Bloom cycle
What to look for
Flowers naturally fade after weeks or months. A green spike may rebloom from a node, while a fully brown spike is finished. New leaves and roots are progress even without flowers.
Best first action
Cut a brown spike near the base with sterile pruners. For a healthy green Phalaenopsis spike, cut above a node for a possible branch or remove it so the plant can rebuild.
A Reliable Indoor Orchid Care Routine
This sequence prevents the most common mistakes: watering by date, trapping water around roots, and forcing flowers before the plant has recovered.
-
Confirm the orchid type
Phalaenopsis is the most common gift orchid and the main focus of this guide. Cattleya, Dendrobium, Oncidium, Paphiopedilum, and terrestrial orchids can prefer different light, rest periods, and moisture. Photograph flowers, leaves, canes, and pseudobulbs before major changes.
-
Check roots before watering
Lift the pot, inspect visible roots, and feel the bark. Water when the pot feels light, the upper bark is nearly dry, and roots look silver. Warm bright rooms dry sooner; cool dim rooms may take much longer.
-
Water deeply and drain fully
Run room-temperature water through the bark or soak the inner pot briefly so the medium is evenly wet. Let it drain for several minutes. Blot water trapped between leaves and never allow water to remain in the crown overnight.
-
Provide bright filtered light
Give several hours of bright indirect light. Gentle morning sun can help, but intense midday or afternoon sun through glass can scorch leaves. Rotate the pot occasionally without constantly changing its location.
-
Feed lightly during growth
Apply diluted orchid fertilizer after watering so dry roots are not exposed to concentrated salts. New roots, leaves, or pseudobulbs signal active growth. Periodically use plain water to wash accumulated minerals from the bark.
-
Repot when the medium fails
Repot every one to two years or sooner when bark becomes fine, compact, sour-smelling, or slow to drain. Choose fresh orchid bark or a species-appropriate mix and a pot only slightly larger than the healthy root mass.
-
Support reblooming patiently
Keep the plant healthy after flowering rather than chasing a quick spike. Phalaenopsis often initiates a spike after several weeks of slightly cooler nights. Judge success by new healthy roots and leaves as well as flowers.
Common Orchid Problems and What to Do First
| Situation | Priority | Avoid |
|---|---|---|
| Yellow bottom leaf | Check whether it is one old leaf aging naturally; inspect roots if several leaves yellow together. | Do not add extra fertilizer before checking light and roots. |
| Wrinkled or limp leaves | Inspect roots. Dehydration can result from too little water or rotten roots that cannot absorb water. | Do not repeatedly soak a plant with mushy roots. |
| No flowers | Improve bright indirect light, maintain healthy roots, and provide a modest day-night temperature difference. | Do not use bloom booster as a substitute for adequate light. |
| Buds drop before opening | Stabilize temperature, moisture, and location; check for drafts, fruit, heater air, or sudden changes. | Do not move the orchid between very different rooms every day. |
| Black or mushy roots | Unpot, remove dead roots with sterile tools, replace decomposed medium, and improve drainage and airflow. | Do not reuse sour compact bark or leave the inner pot submerged. |
Identify the Orchid Before Changing Care
A care routine is safer when you know the orchid group. Photograph the full plant, flowers from the front and side, leaves, pot, roots, and any pseudobulbs or canes. Our plant identifier can suggest a likely match, but confirm unusual, valuable, or declining orchids with a reputable orchid society, nursery, or local horticulture expert.
Not sure which orchid you have?
Upload clear photos to narrow down the orchid type, then compare the result with the care requirements for that group.
Identify Orchid from a Photo